Grayson's Thesis Show
1 of 33
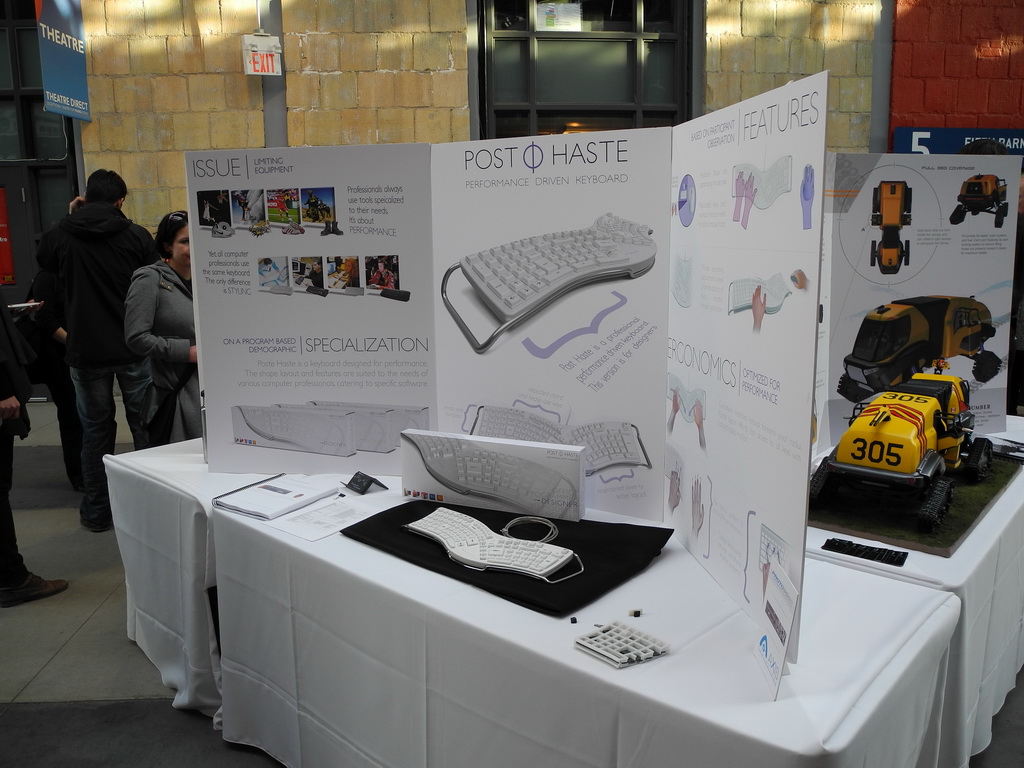
It is Tuesday April 17, 2012 at the Wychwood Barns (two blocks south and west of St. Clair Avenue West and Bathurst Street). From 1913 to 1978 this building was used by the Toronto Transit Commission to service streetcars and buses, it has since been redeveloped as a community facility. Grayson has completed his four-year Industrial Design program, and the graduating class is here showing their final year project.
2 of 33
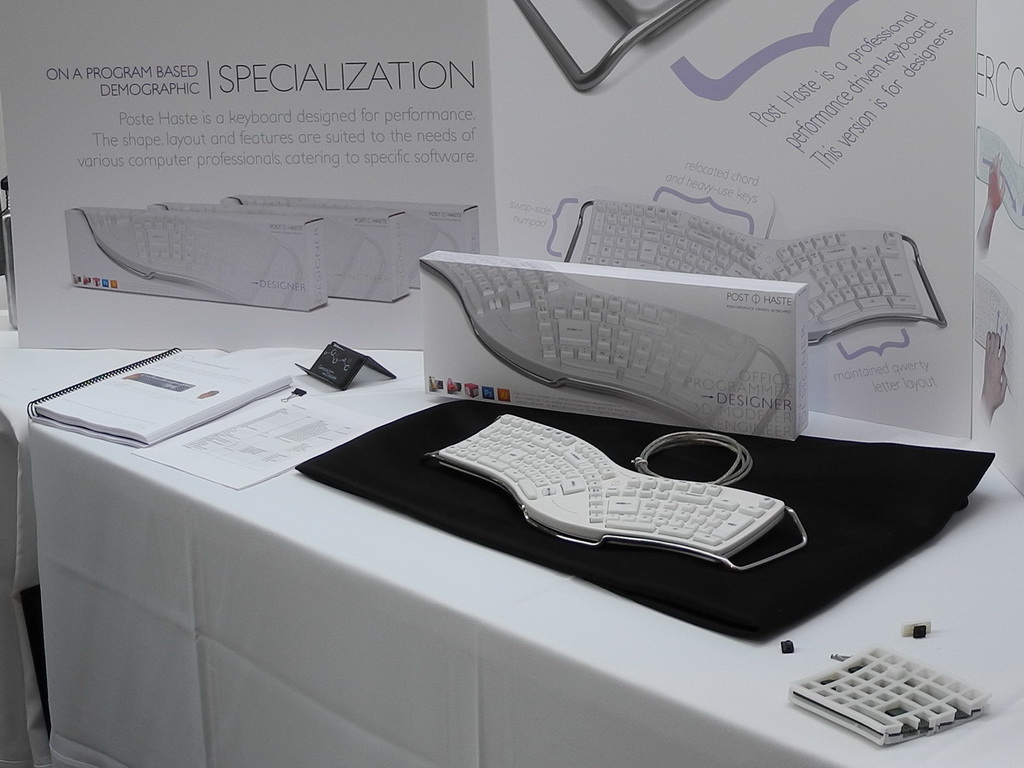
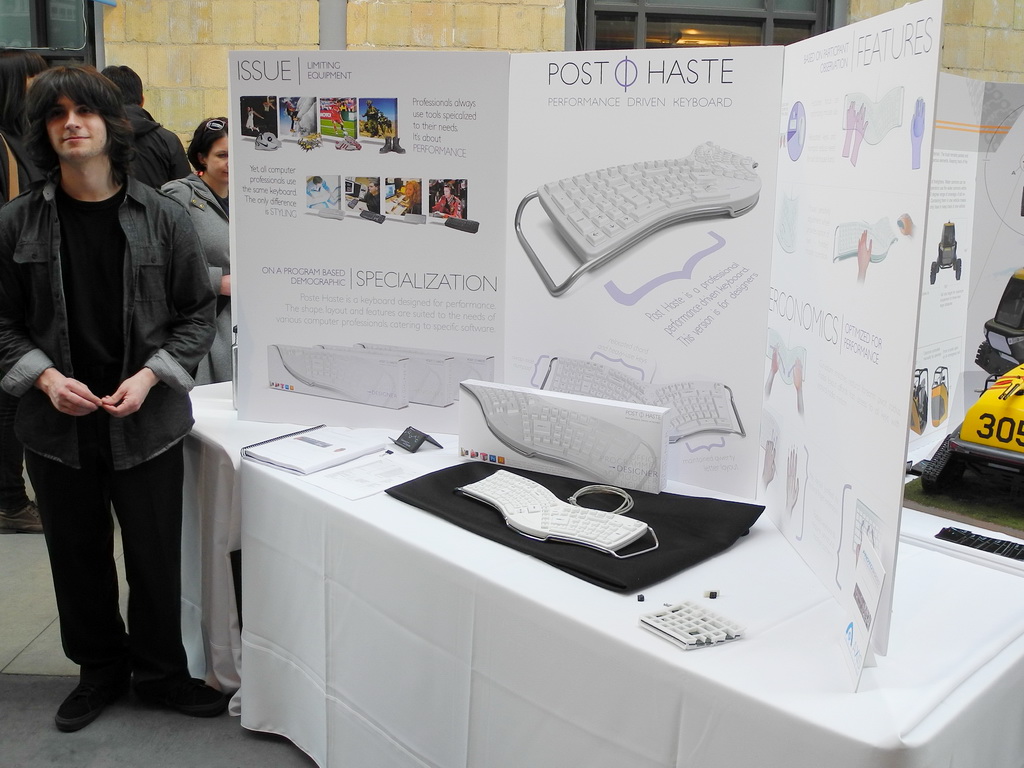
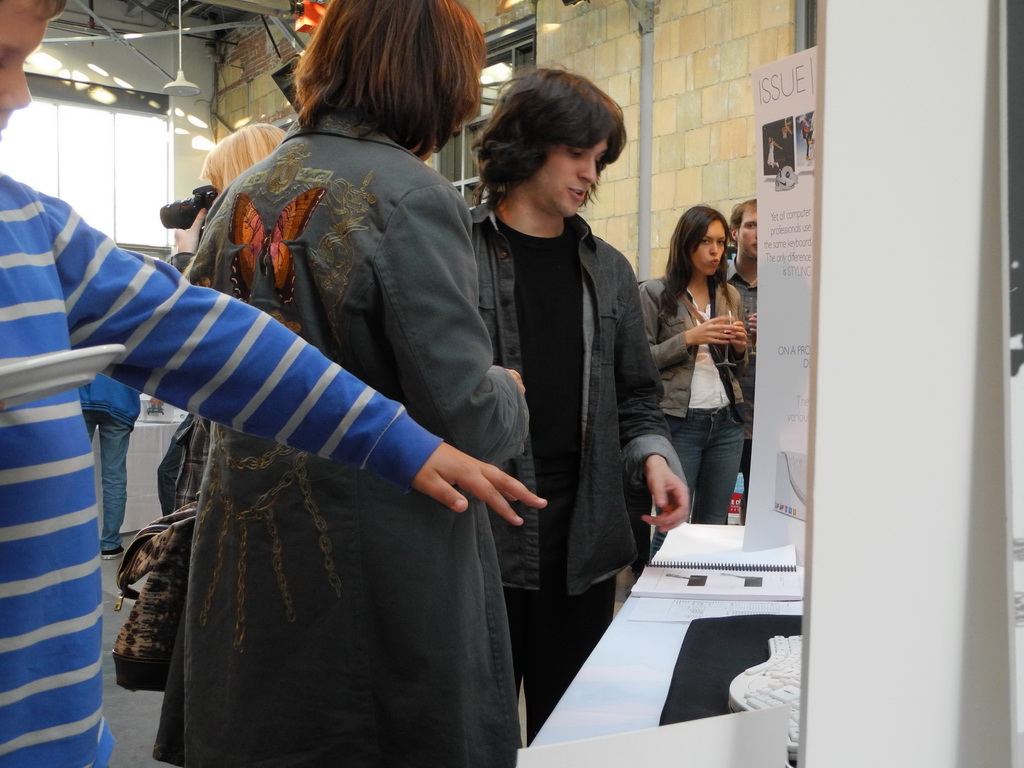
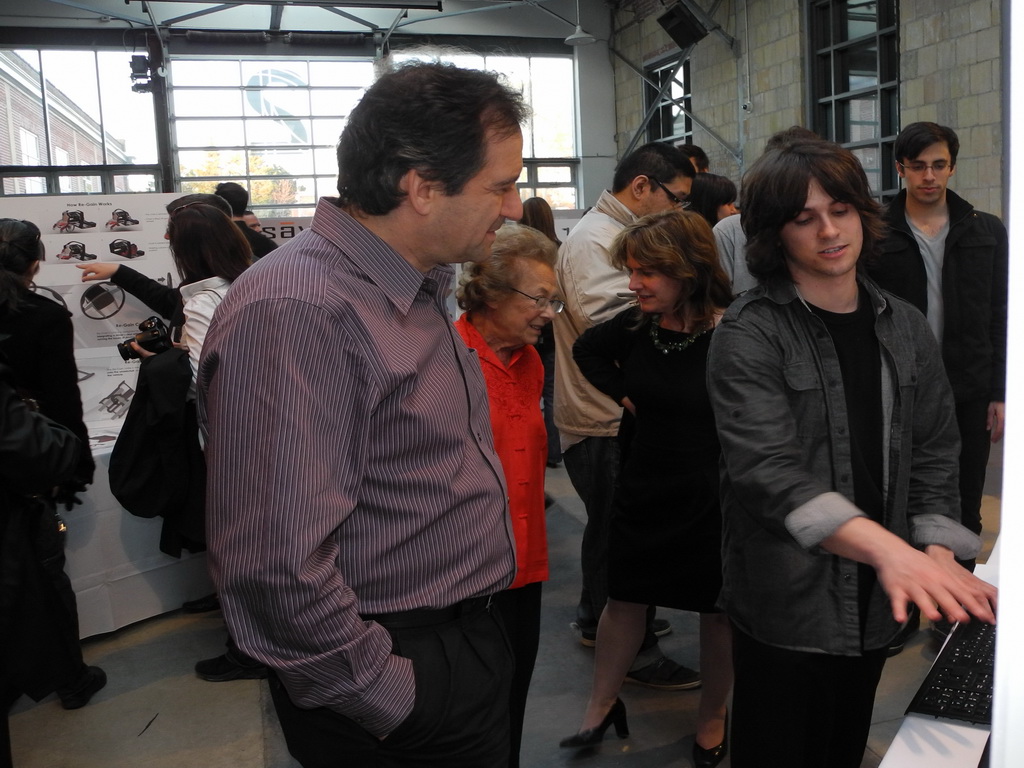
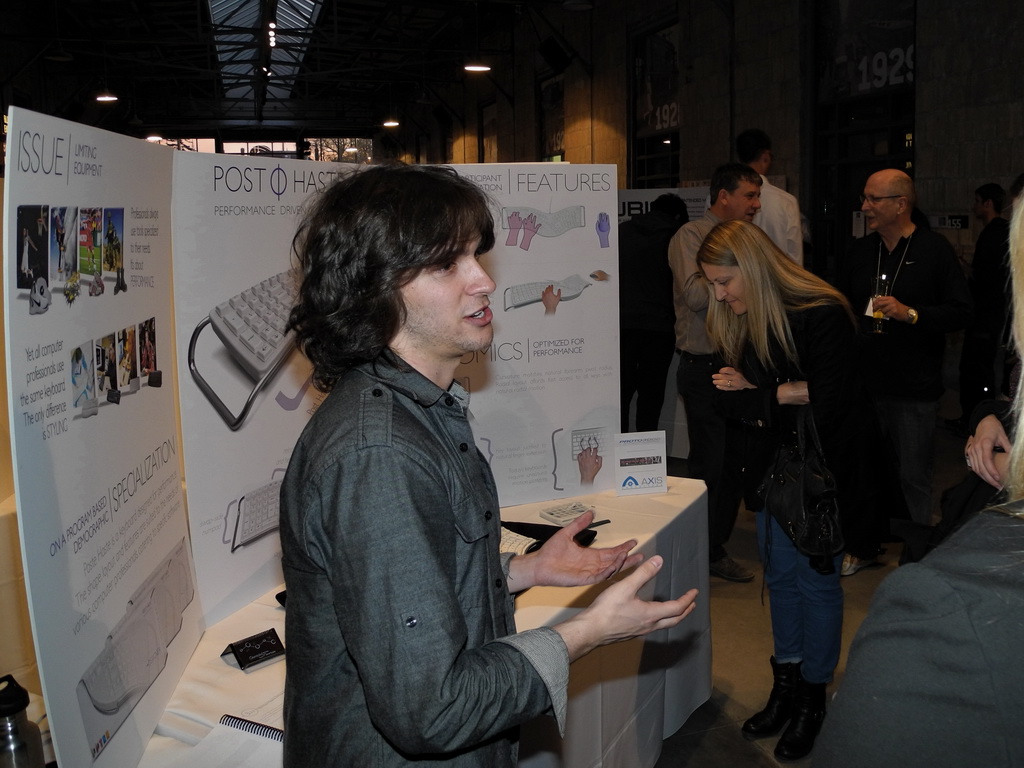
Grayson's is a model of a computer keyboard specialized for particular uses, in this case for a designer (rather than for office or programmer use, for example). In addition to having made a model (complete with moving keys and USB cable), an example product box, section of the keyboard, bill of materials, report (complete with design concept drawings and process work), and business cards are being displayed.
3 of 33
Grayson has taken off his hat for the occasion, and is wearing dress pants and nice shoes.
4 of 33
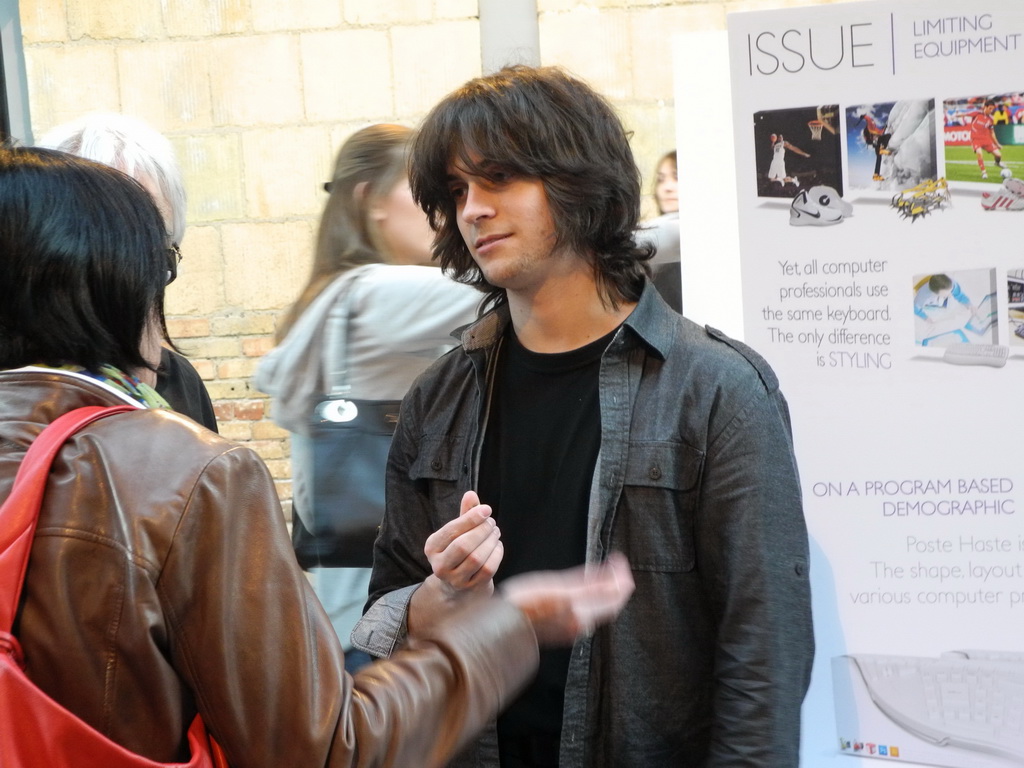
The show was on from 6:00 pm to 9:00 pm, and Grayson spent the entire time explaining the concept and implementation to a constant stream of people.
5 of 33
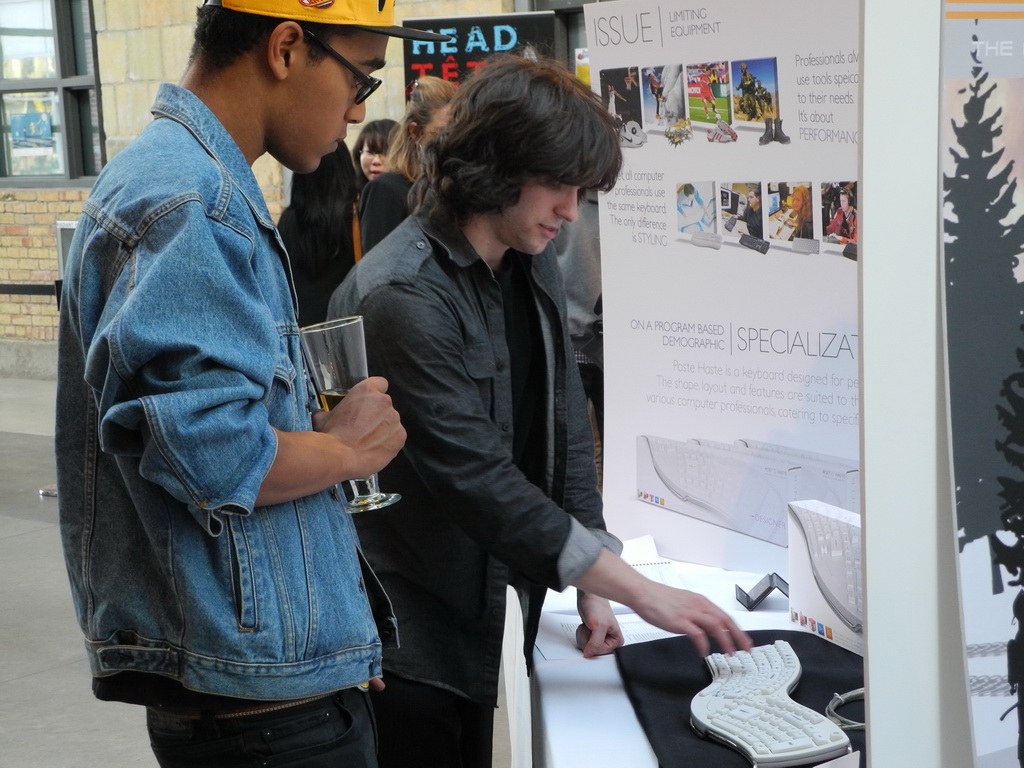
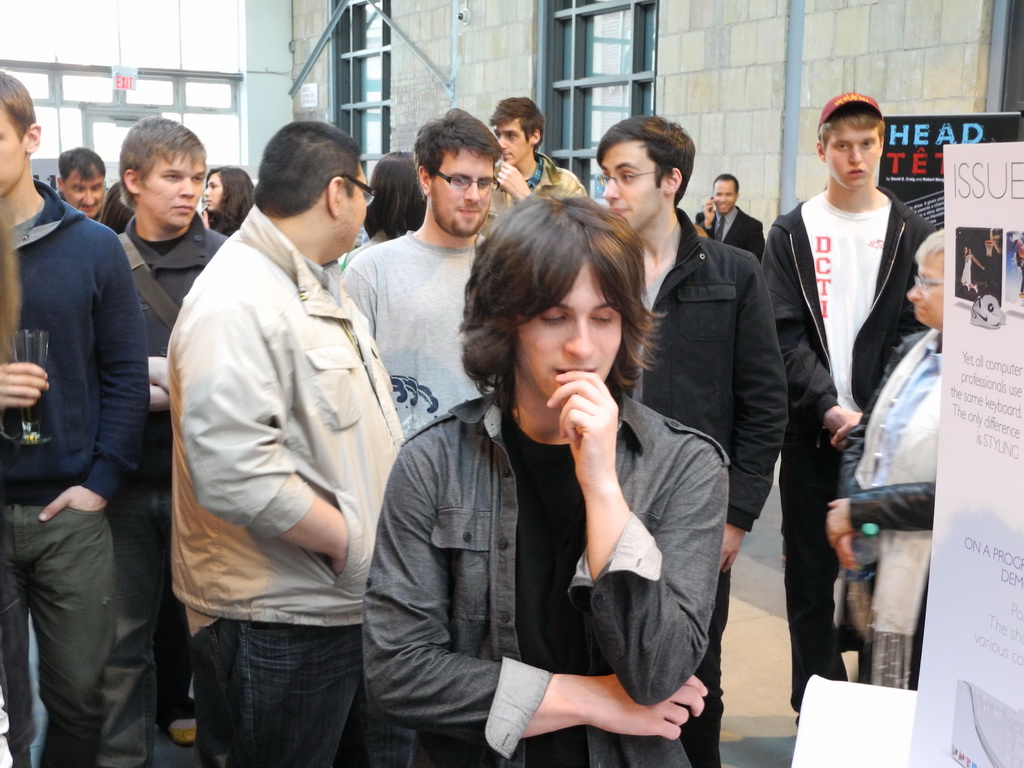
Everyone seemed drawn-in either by their common concern about keyboards, or perhaps the clear display boards and product design (or Grayson's hair).
6 of 33
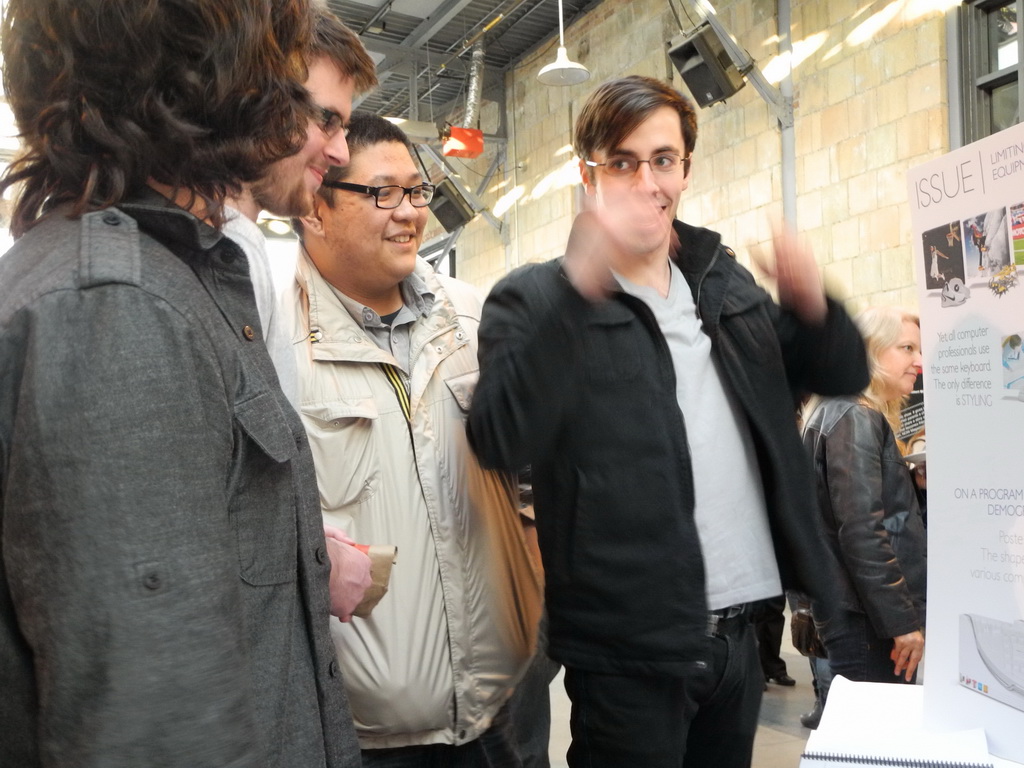
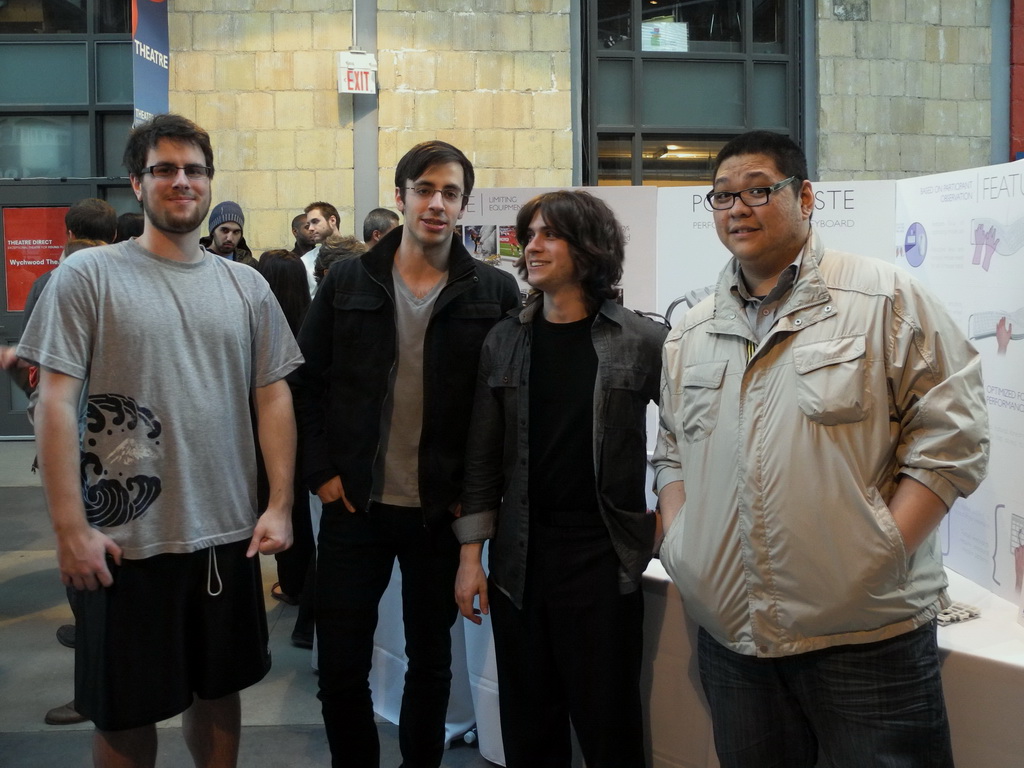
Matt, Sherwin, and Alex also came by.
7 of 33
Everyone had something to say.
8 of 33
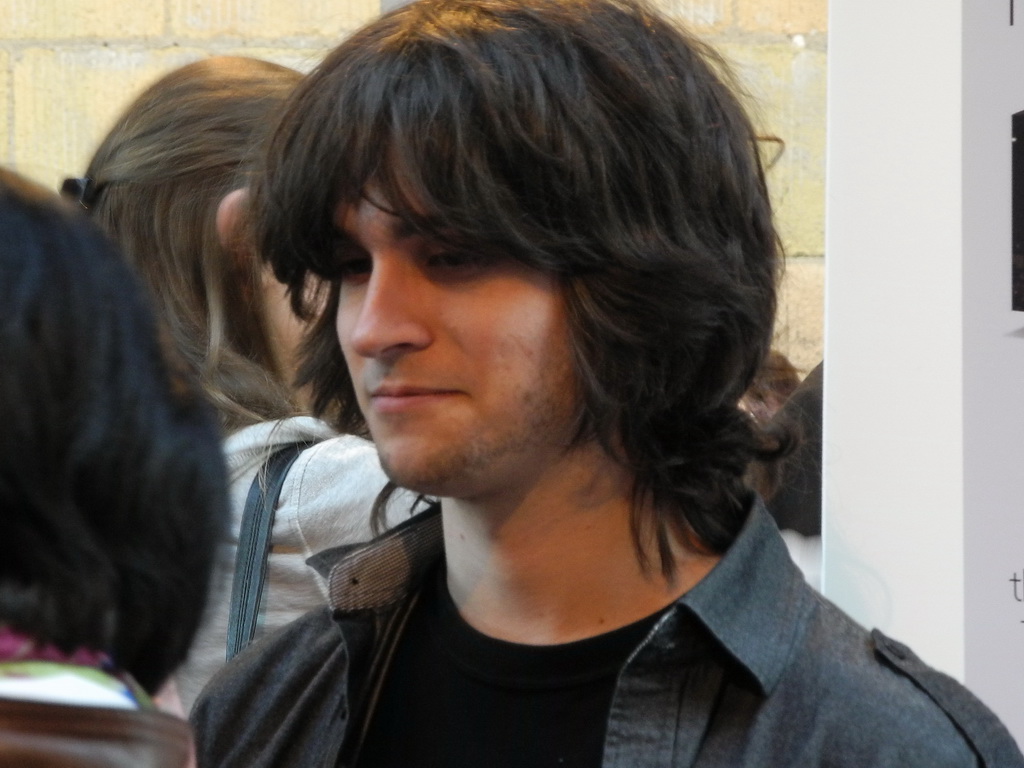
Grayson hasn't given himself a haircut in a year, he is very hairy.
9 of 33
Matt wears shorts year-round.
10 of 33
Grayson had many expressions.
11 of 33
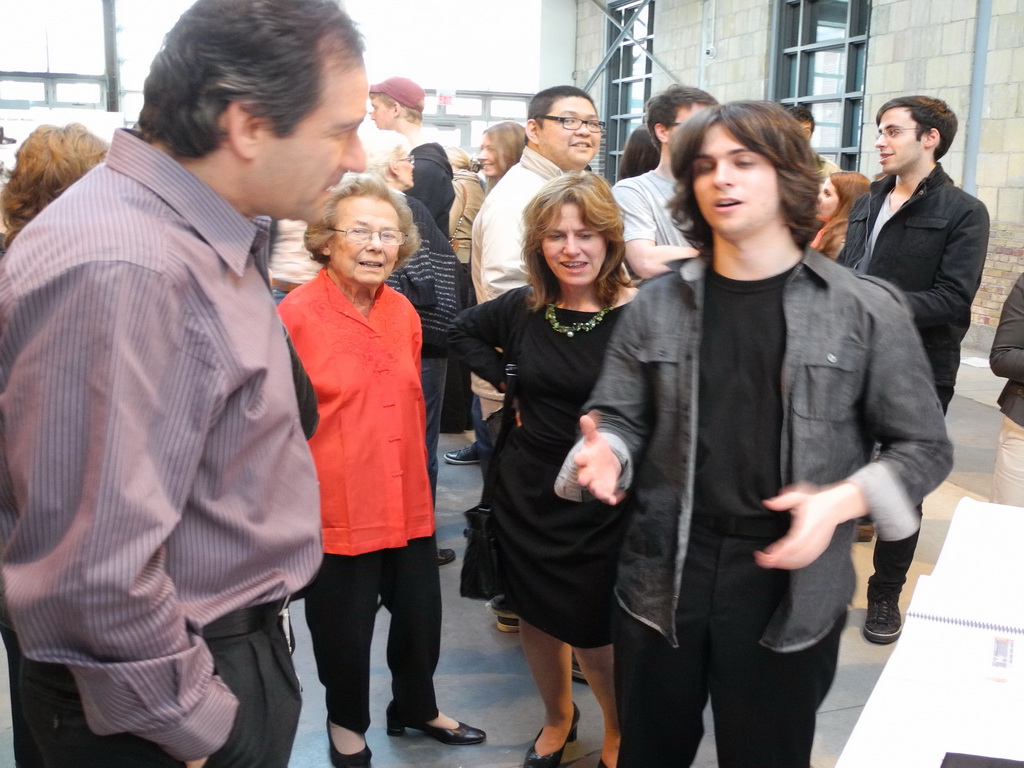
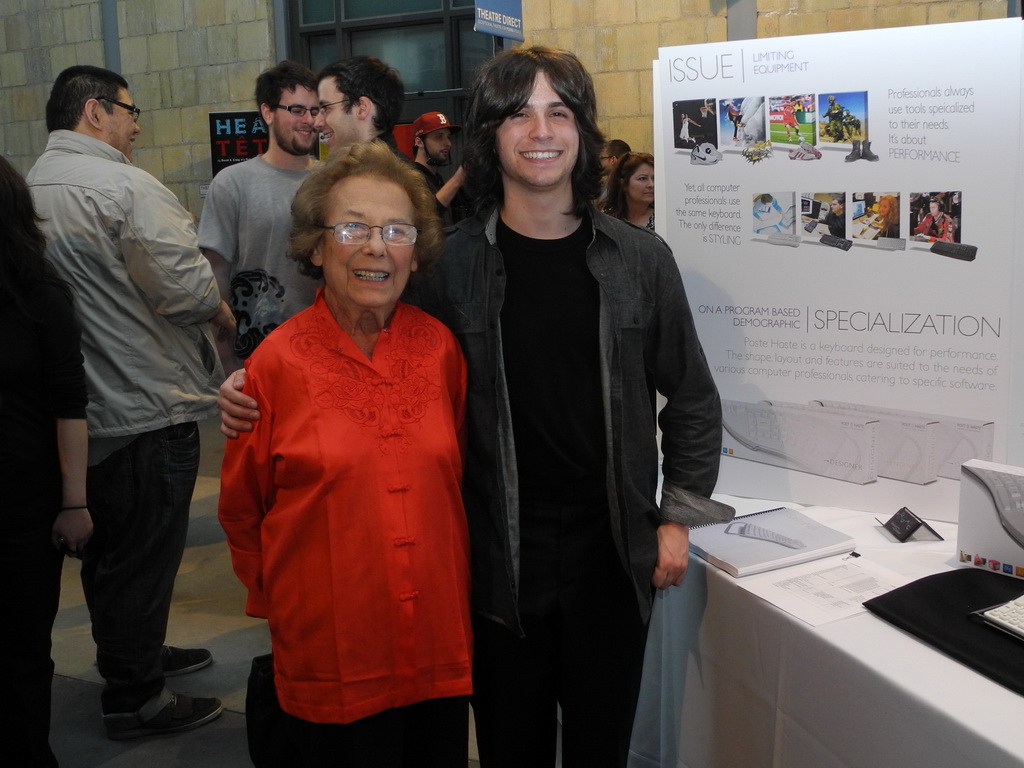
Mark, grandmother, and Mom were there too.
12 of 33
Grayson talked the entire time.
13 of 33
Grandmother and Grayson.
14 of 33
Karyn visited too (just back from the Grand Cayman Islands).
15 of 33
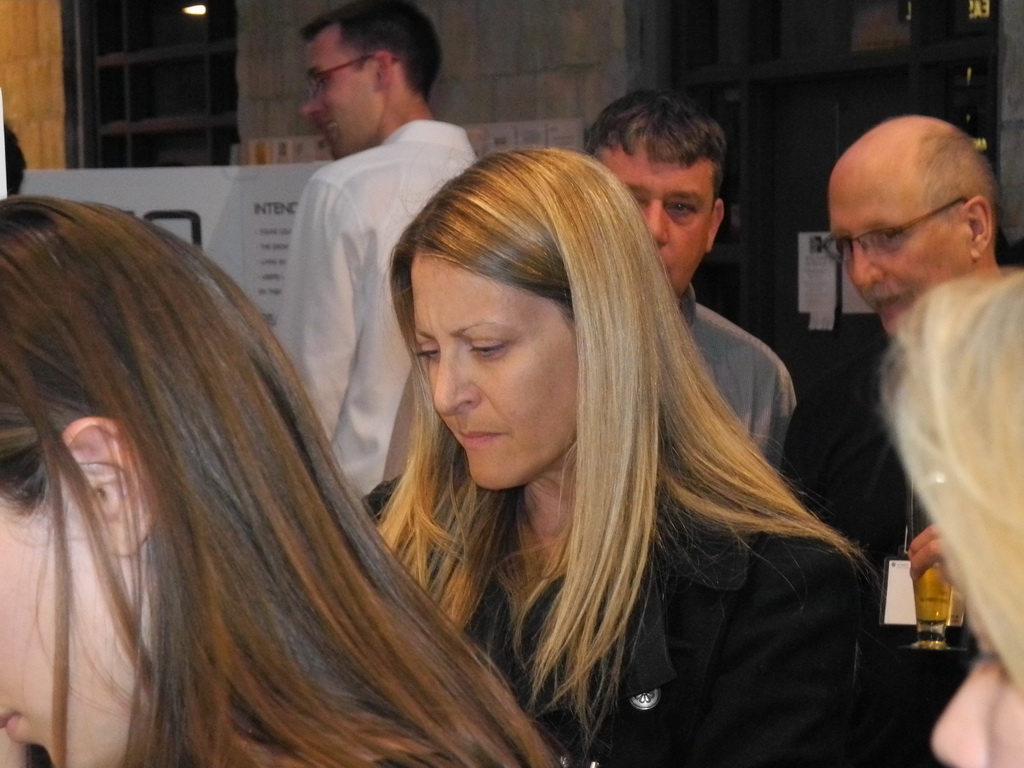
Some things appear to be puzzling.
16 of 33
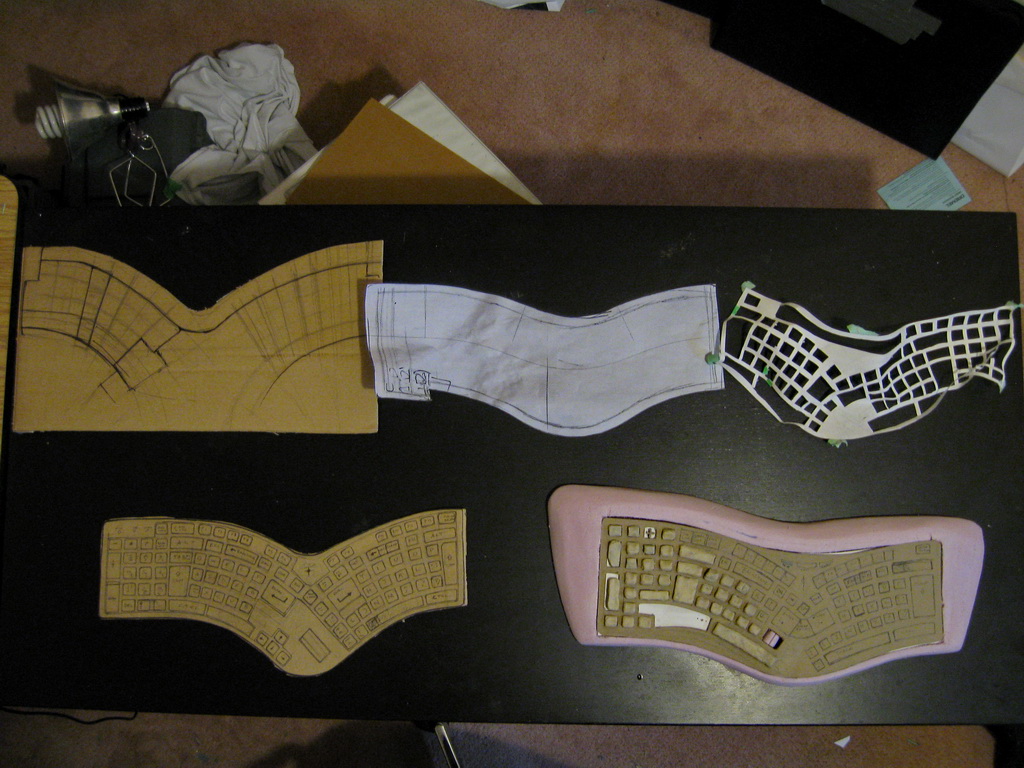
And now as a reward for scrolling to the end of the show, we'll step back in time to the design phase of the keyboard, here are some concept sketches.
17 of 33
The keyboard is curved to match the rotation around one's elbow.
18 of 33
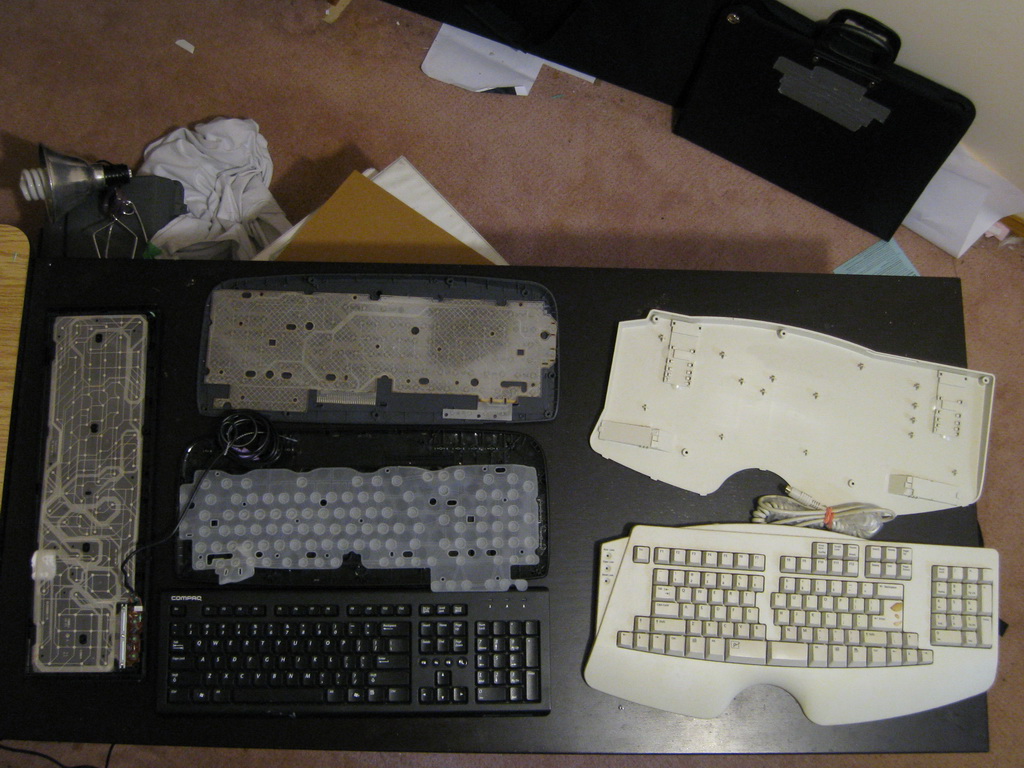
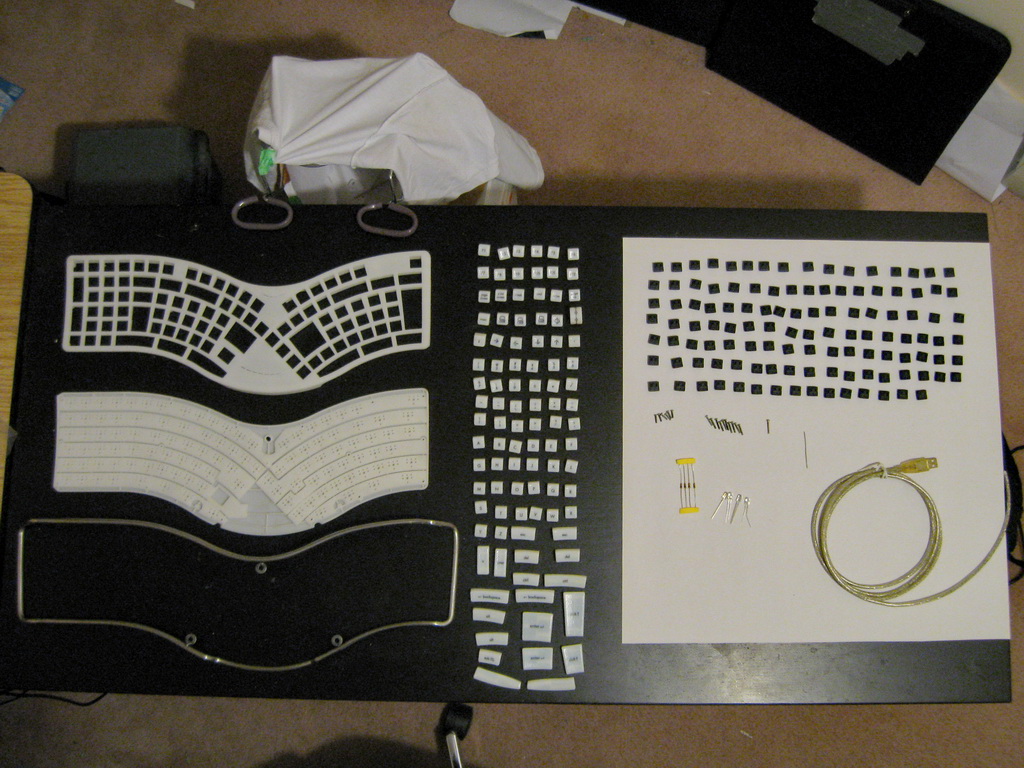
Many keyboards were sacrificed to learn of their inner workings.
19 of 33
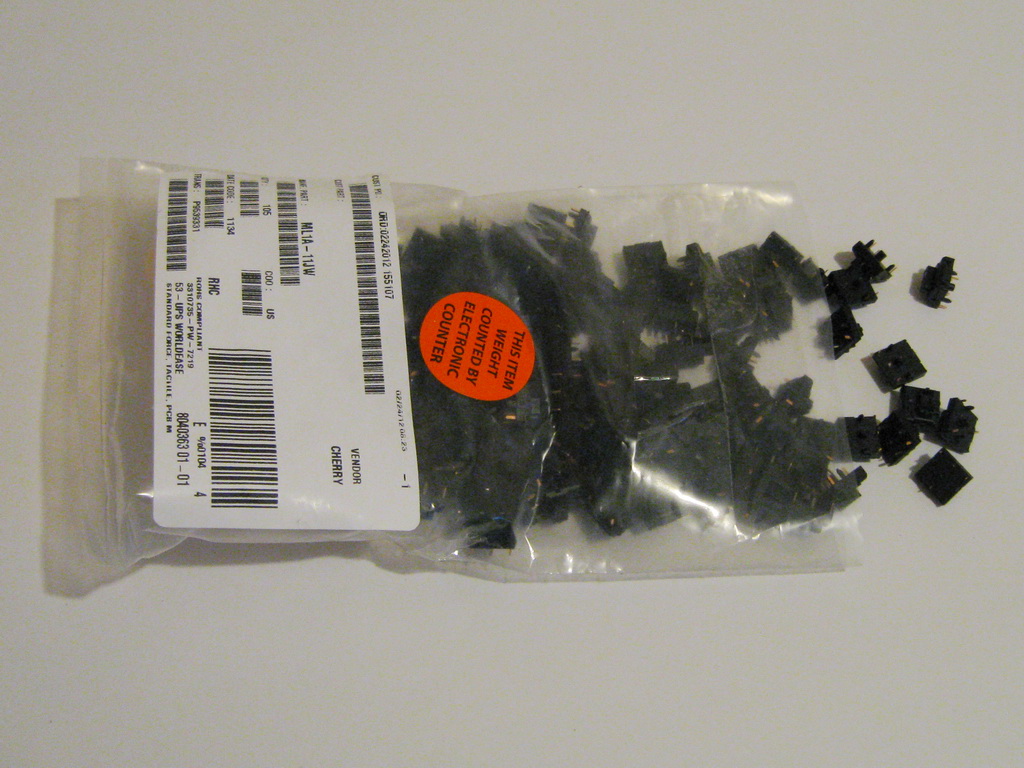
Real keyswitches were ordered, and their manufacturer drawings used to get the mounting hole pattern required.
20 of 33
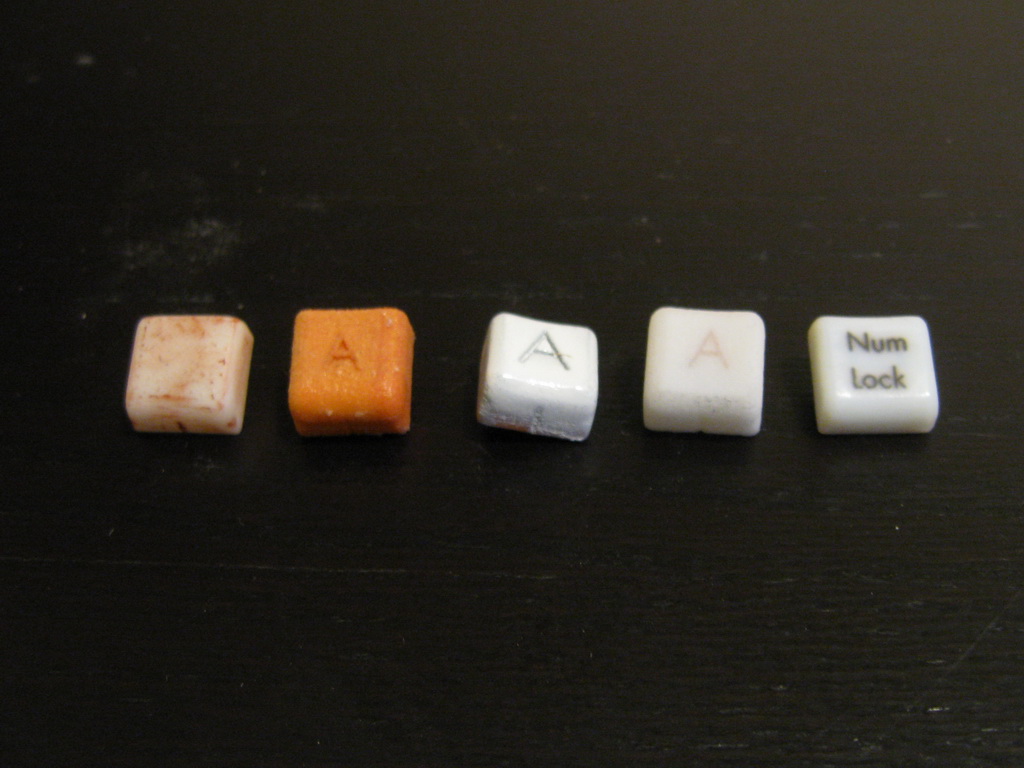
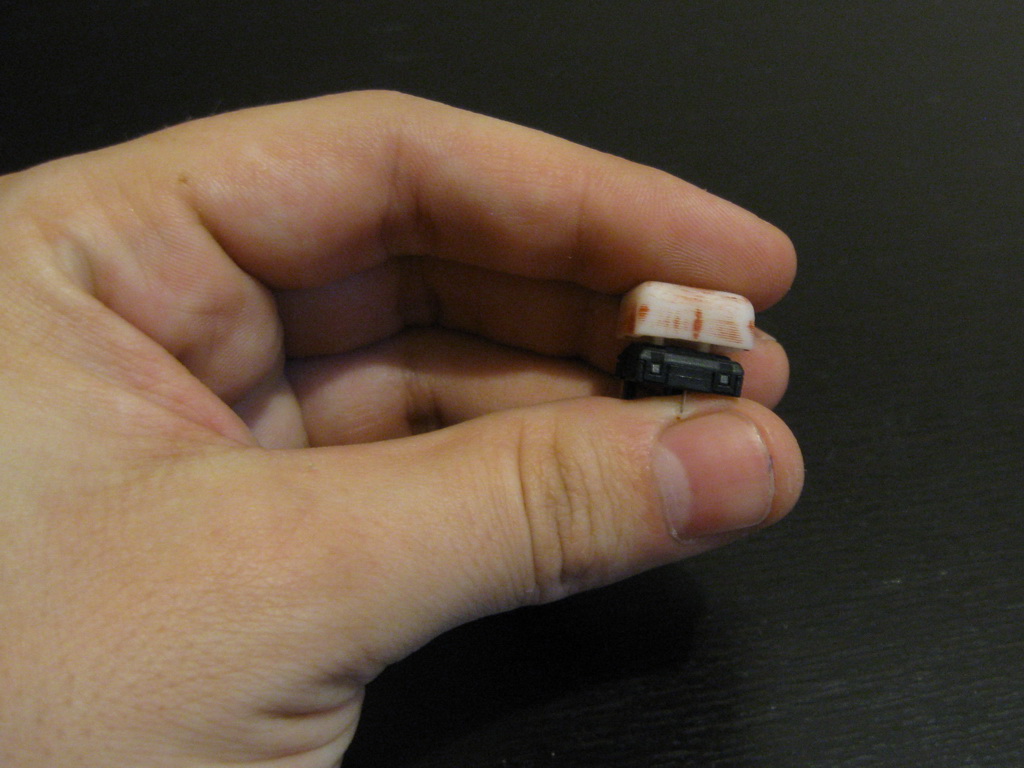
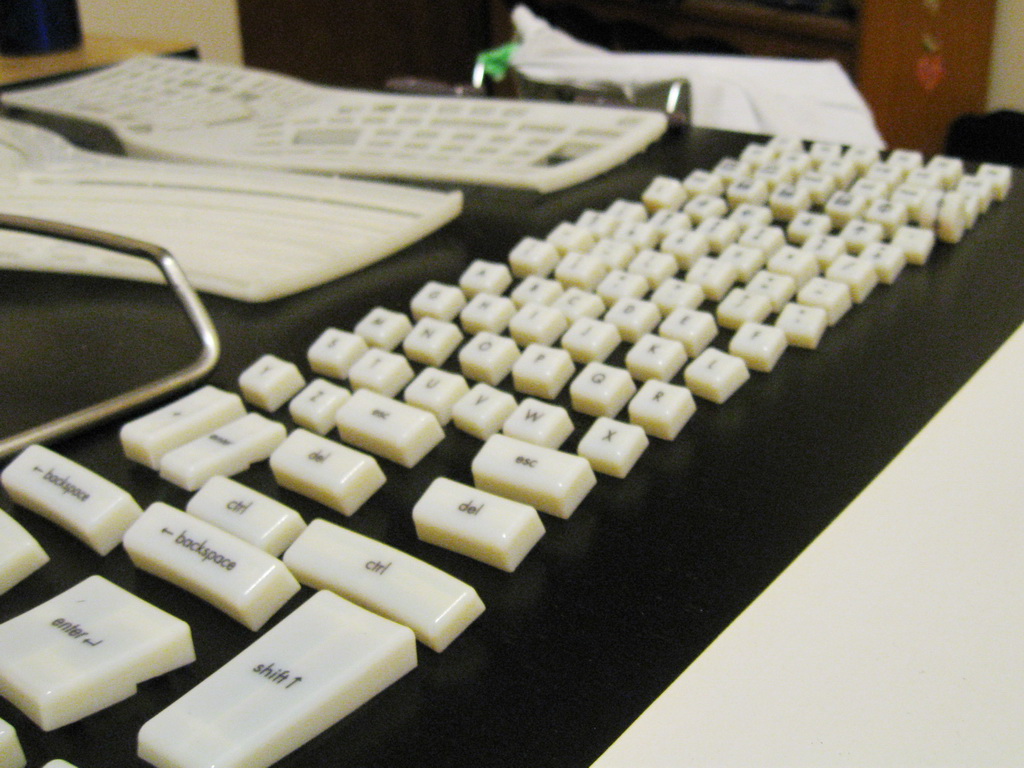
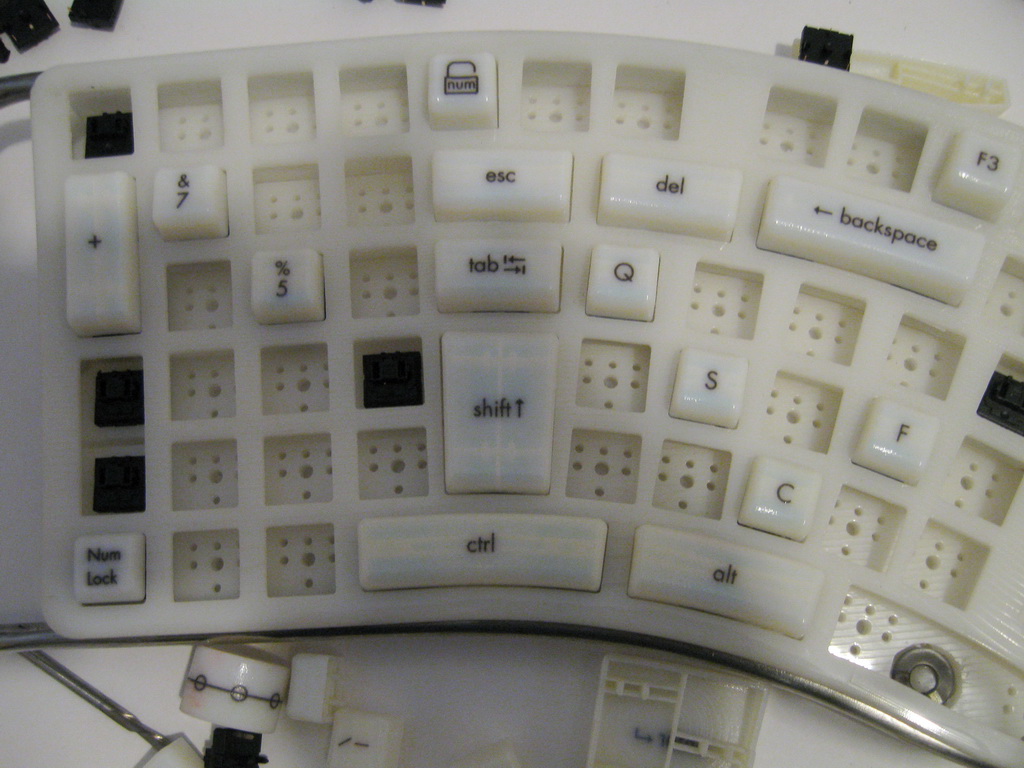
Each keycap was designed (each at least had different embedded text, and many had a unique shape as well) and 3D printed, and here they are.
21 of 33
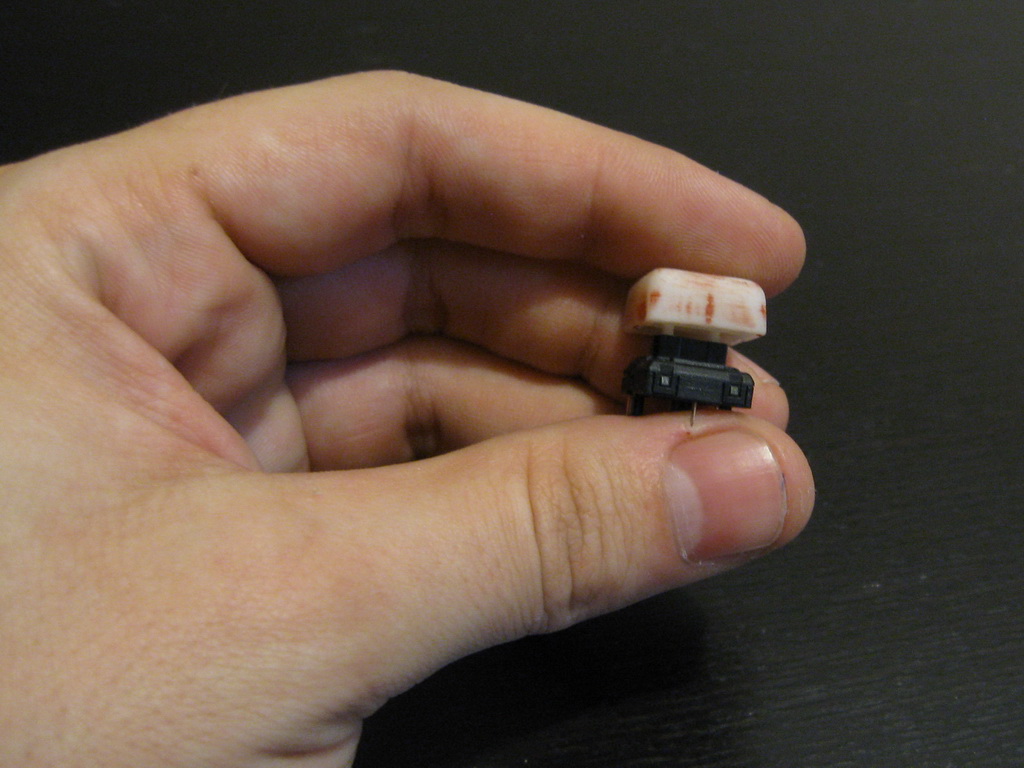
The keycaps mounted in the keyswitches using two parallel blades.
22 of 33
Nice action.
23 of 33
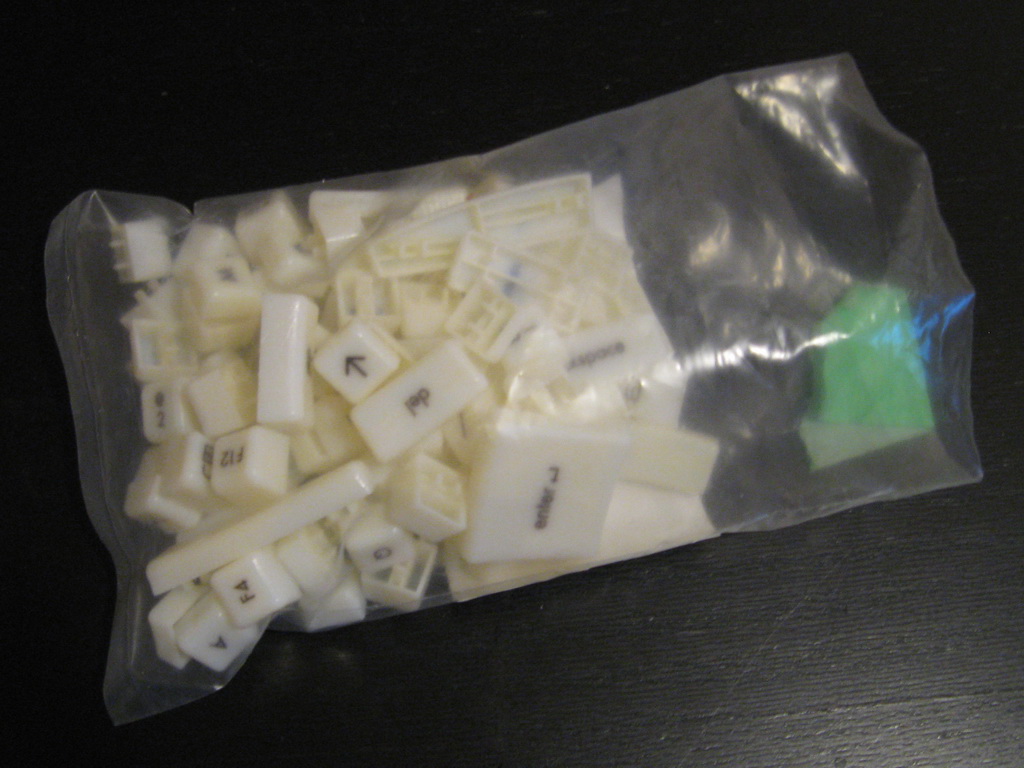
A keycap supplier was selected and the keycaps delivered.
24 of 33
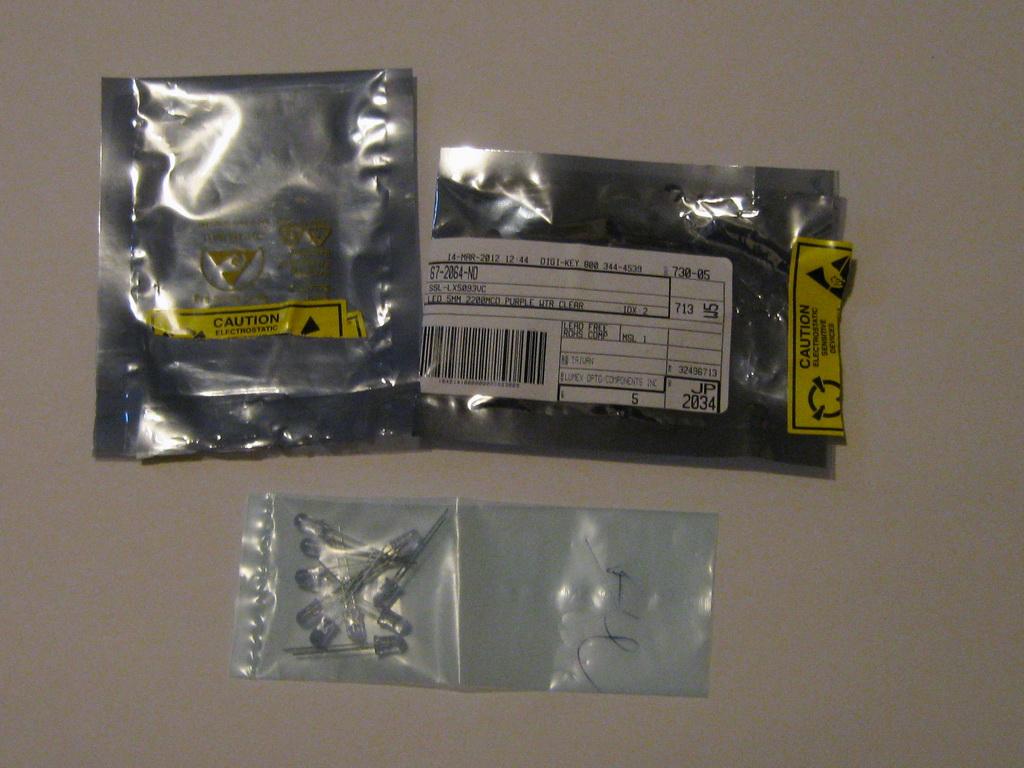
Purple LEDs were ordered.
25 of 33
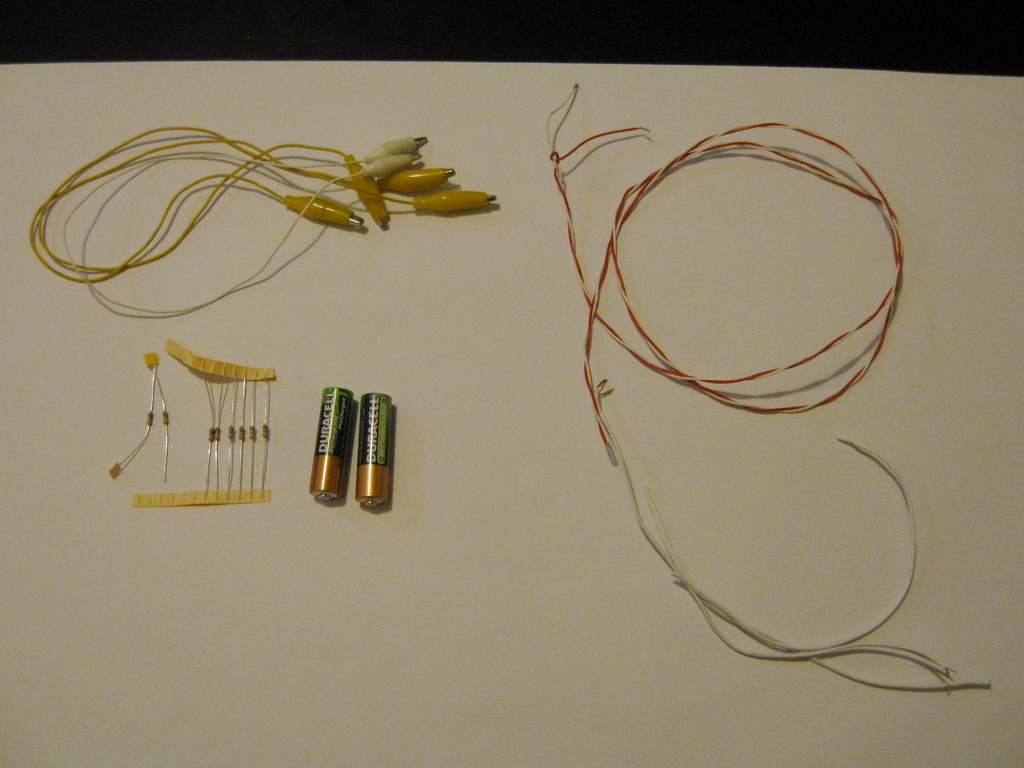
Current-limiting resistors were needed.
26 of 33
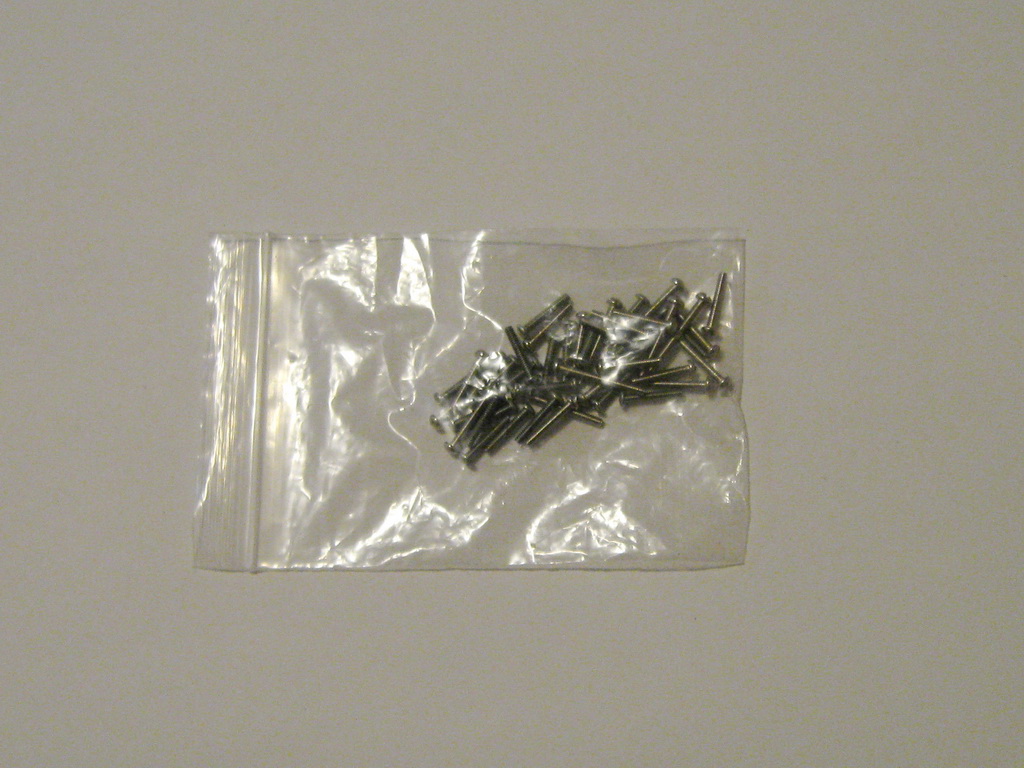
#2-56 round-head chrome-plated screws would fasten the keyboard together.
27 of 33
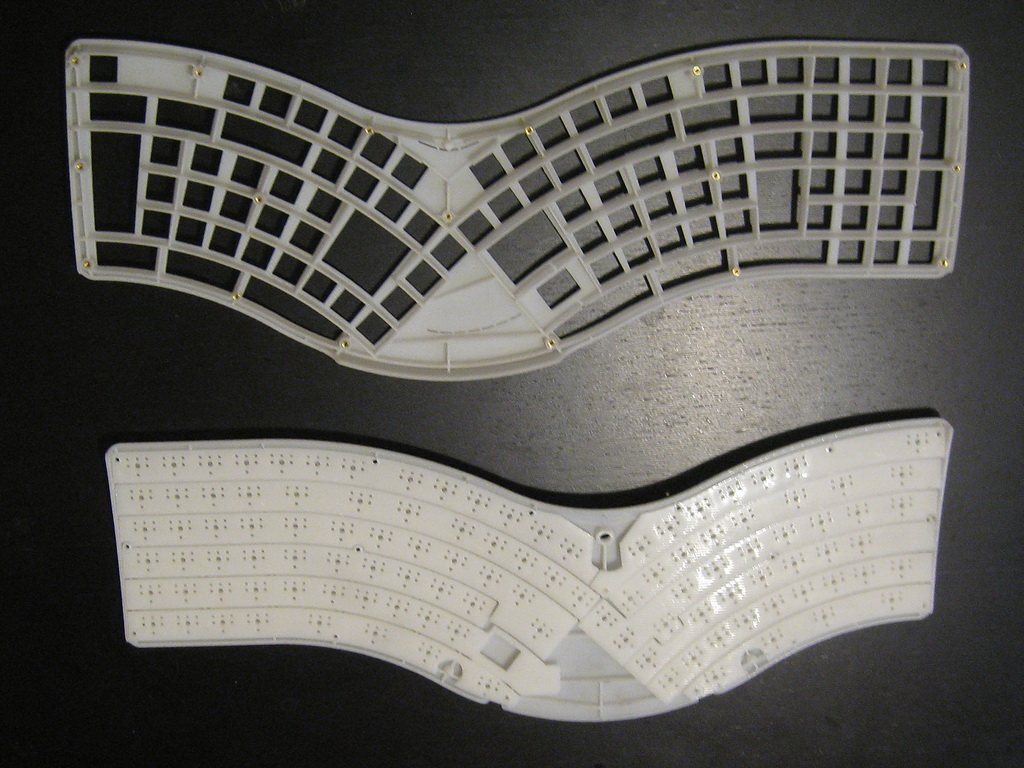
The top and bottom shell of the keyboard was made by a different 3D prototyping supplier. The bottom shell supported separate flat sections as the keyswitches were designed to be mounted into printed circuit boards. The top shell has ribs for strength, and threaded brass inserts so machine screws can be used to securely fasten the top and bottom shells together.
28 of 33
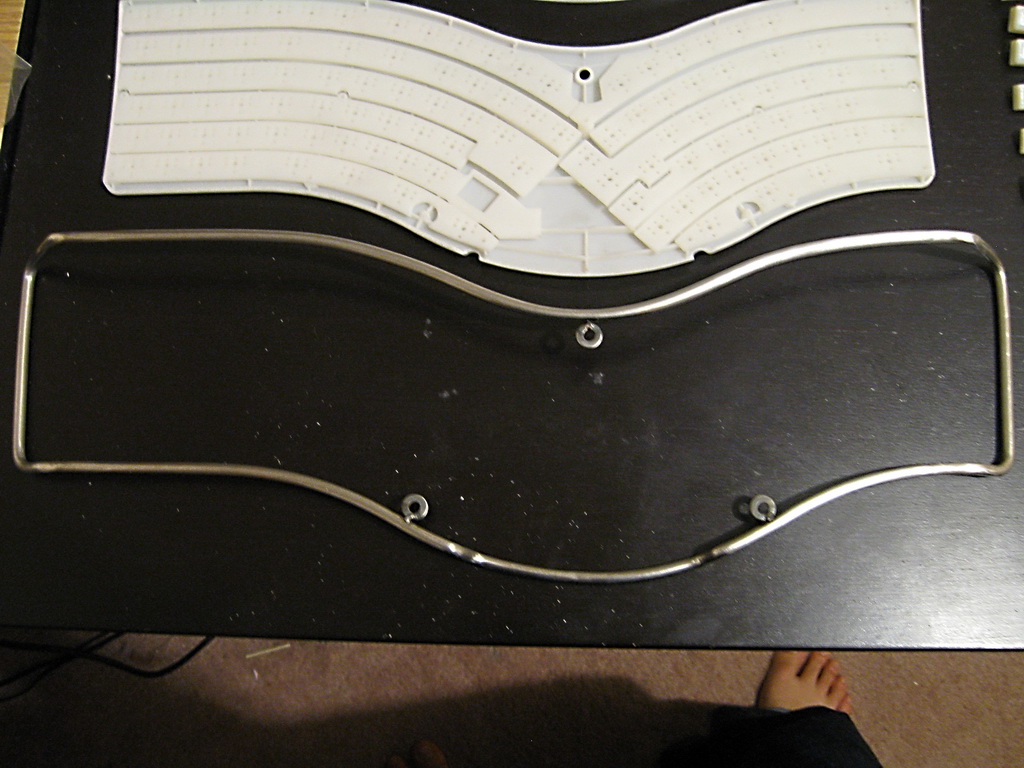
The stainless steel wire-frame was made in several sections and welded. Washers were also welded to the wire-frame to provide secure mounting between the keyboard top and bottom shells.
29 of 33
Lots of keycaps.
30 of 33
All the required parts were now ready for sanding, filling, painting, and clear-coating.
31 of 33
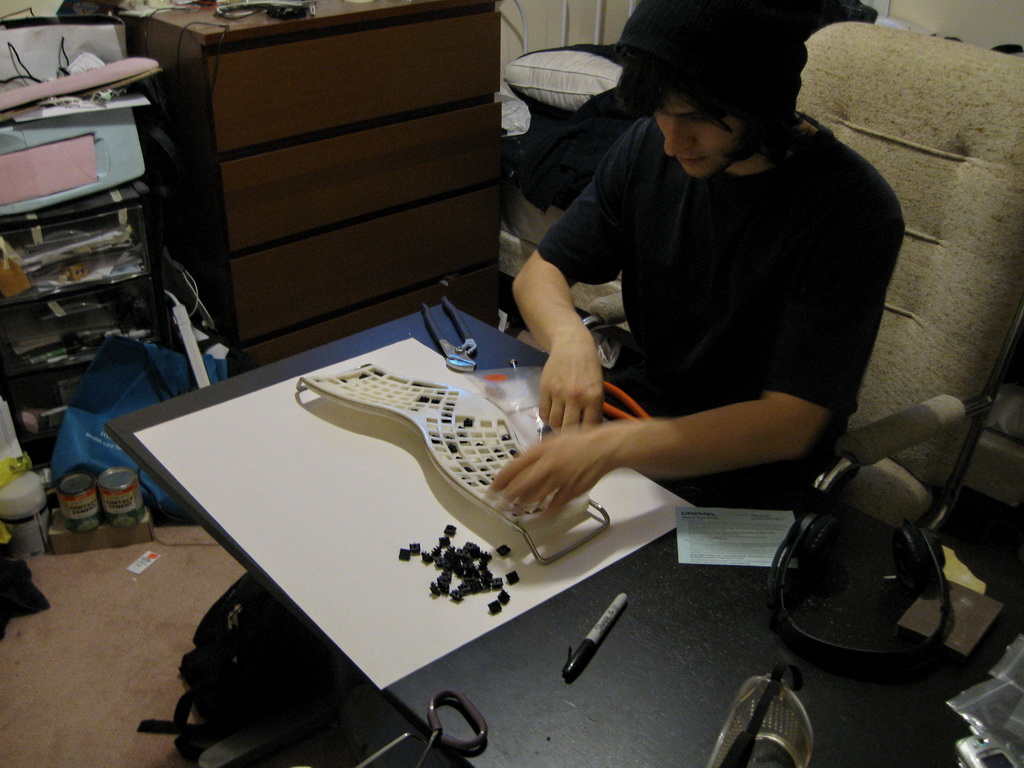
Time to begin assembly, note the many different keycap shapes (and the tight tolerance to the top shell openings).
32 of 33
Days and days of design and construction takes its toll on one's sanity.
33 of 33
The CAD Lord at work in his lair.
